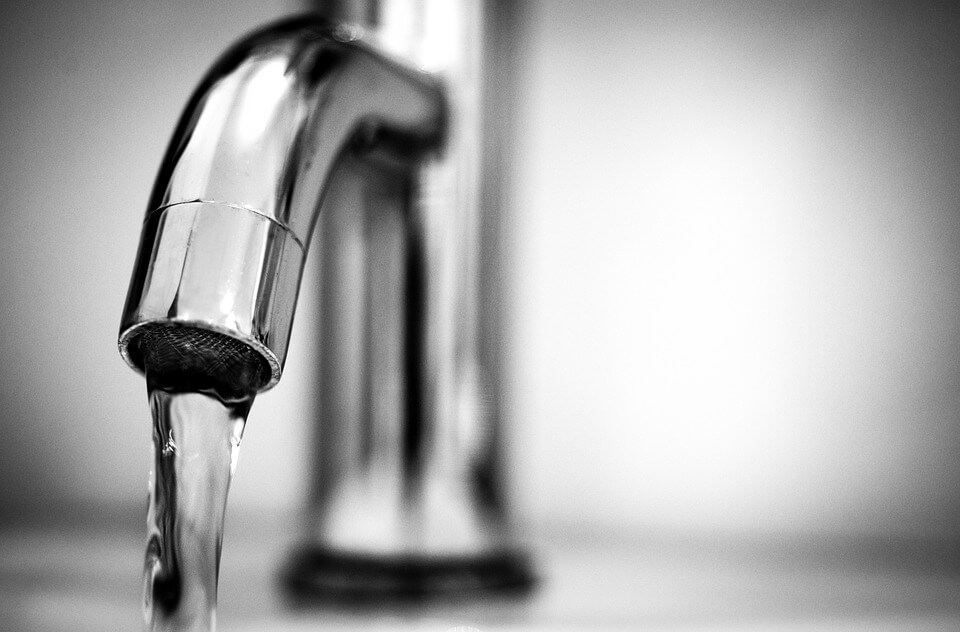
How to plumb a basement bathroom
Are you avoiding plumbing your bathroom basement? Don’t worry, this project isn’t a hassle. Click here and find out how to plumb a bathroom basement.
Since 2000, the percentage of new single-family homes with 3 or 4 bathrooms has increased.
But the percentage of homes with two bathrooms has continuously decreased.
Despite this love-affair with bathrooms, adding one to your basement isn’t a simple task.
A licensed pro will charge you as much as $2,000. Well, unless you know how to plumb a bathroom. Then, you’ll only spend about $250.
Follow this step-by-step guide to get your plumbing right.
How to Plumb a Bathroom Basement Like a Pro
Installing the drain and waste is particularly difficult in basement bathroom plumbing. That’s what this guide focuses on.
You need quite a bit of know-how to work on every aspect. Apart from the technical issues, get ready for some physical labor.
Above all, restrict all use of the drainage system during the plumbing period. Also, make sure you have enough time to complete the operation without any hurry.
1. Get Ready
You don’t know how to plumb a bathroom if you don’t know the relevant regulatory requirements. There may be local variances, besides international codes.
For example, all toilets must have vent pipes along the house exterior.
When starting, identify all the tools and materials you’ll need. Get everything ready, to save time.
The tools you’ll need include:
- Level.
- Rags.
- Reciprocating saw.
- Sledgehammer.
- Safety glasses.
- Socket/ratchet set.
- Trowel.
- Spade.
- Tape measure.
- Cast iron pipe snapper.
- Torpedo level.
You’ll also need these materials:
- 2-inch, 3-inch and 4-inch plastic or cast iron pipe and fittings.
- Band couplings.
- Pipe glue.
- Concrete.
Important notes:
- When buying plastic pipe and fittings, differentiate between PVC and CPVC. With this bathroom plumbing, PVC will do the job. CPVC handles heated water with temperatures up to 200 degrees Fahrenheit.
- Before applying pipe glue, you must apply a primer. The home inspectors check this to ensure the job is perfect.
2. Locate the Main Drain Line
Once everything is ready, locate the main drain line.
It’s within the basement floor. To find its exact location, start by identifying the “main stack.”
The main stack is a large vertical pipe running into the basement floor. The 3 or 4-inch diameter pipe then runs under the floor. And goes straight towards the cleanout plug on the street-facing wall of your basement.
The main drain line can also run straight towards a private septic field.
Identifying the exact direction eliminates the hassle of punching through the floor aimlessly.
Apart from wasting time, it will also cost an extra bag of concrete to patch it up.
A plumber with high-tech equipment will give you the most accurate location. But that will cost you about $200.
3. Plan the Layout
Locating the main drain line isn’t enough. You must dig an exploratory hole to make sure it’s deep enough.
How deep should it be?
Do a backward calculation from the main drain line to the toilet, sink or shower. The connecting drain lines must have a downhill slope for smooth waste flow. The slope should have at least 1/4 inch per linear foot.
This simple feature will spare you lots of clogging problems.
Now, start marking out the entire bathroom plumbing system. Mark out the toilet, sink, shower and drain lines on the basement floor. This is a preliminary plan which can change during the plumbing operation.
4. Trench the Floor
At this point, get ready for hard labor.
Using a sledgehammer, burst up the basement floor along with your marked layout. Take out the large concrete chunks along the trench lines. Make the trench lines wide enough for your spade, so you can dig and toss out the dirt.
Keep the dirt separate from the concrete chunks. You’ll use it for backfill.
Your trench lines should be wide enough to maneuver around. That’s useful when connecting drain lines. They should also be deep enough to accommodate drain lines at the correct depth.
5. Connect the Drain Lines
This is a critical point when no one should run water or use the drainage system.
Building your drain system starts with cutting the main line. If the main drain line is cast iron, use a cast iron pipe snapper. It tightens a cutting chain around the pipe until the pipe cracks.
If you don’t own a pipe snapper, rent it.
More so, if the main drain line is plastic or old cast iron, use a reciprocating saw. Old cast iron will crush instead of cracking if you use the pipe snapper.
After cutting the main line, splice in a Y-fitting.
From the Y-fitting, build branches, connecting to the rest of the drain lines.
Remember, pipes used for each bathroom fixture must meet regulatory compliance:
- Shower drains must be 2-inches in diameter all the way to the mainline.
- Toilet drains can range between 3-inches and 4-inches in diameter. However, a larger diameter is best to avoid back-ups and clogs.
- Each toilet must have a clean out. This provides easy access to unclog back-ups and build-ups.
- Sinks must have a P trap. It’s a removable pipe for unclogging drains.
6. How to Plumb a Bathroom Drain System With a Constant Slope
It’s the most complex part of the plumbing operation. How do you build intricate branches and maintain a 1/4 inch slope per foot?
An important tool for checking the slope of pipes is a torpedo level. It shows the true vertical, horizontal or even 45-degree angle.
Whenever you finish setting the slope on a pipe, pack dirt under and around it. This ensures it doesn’t move as you build other sections. Also, when backfilling the trenches, pack the soil tightly.
Sloping is essential for a gravity plumbing system. However, you can use a macerating toilet system instead. It only relies on the opinion of a Chief Plumbing Inspector.
Get Experts Who Know How to Plumb a Bathroom
Without proper expertise, even common plumbing issues can go wrong. Therefore, if you’re not confident about your skill, seek expert help.
You’ll get professional help from Eyman Plumbing Heating & Air. We’ve served many satisfied clients since 1957. We offer unmatched quality for both residential and commercial clients.
Call (402) 731-2727, and we’ll be glad to help you!